
1. Data Connection Overview
The following diagram illustrates the software - database connection between
LoanerTrak SQL and your MySQL database.
2. System Requirements
LoanerTrak SQL has been fully tested with the Windows 7 Professional operating system.
- PC with min 4GB RAM. Requires approximately 35MB for installation and program files.
- Windows 7 Professional 64-bit OS or higher
- Network and/or internet connection
- MySQL database installed as per instructions contained in document MySQLLoanerTrak Server-Side installation and Set up.pdf
- The IP Address and name of the server hosting your MySQL database
- Connectivity to this MySQL database through a Local Area Network (LAN) or through secure remote access pipes such as VPN.
- The address of your outgoing SMTP server if automatic email notification is enabled.
Note: Installation and set up of the LoanerTrak software requires Administrator privileges on the Client PC.
3. Uninstall LoanerTrak 2 (Optional Step. Only if upgrading)
a) Copy the user’s local settings file from C:\Program Files (x86)\LoanerTrak SQL\loanertrak2.ini to the user’s desktop. This settings file will be used in the LoanerTrak 3 application.
b) Copy the file named logo.jpg from C:\Program Files (x86)\LoanerTrak SQL\logo.jpg to the user’s desktop
c) Click Start > Control Panel > Programs and Features.
d) Highlight LoanerTrak 2, right click and select Uninstall.
4. Download Installation File(s)
a) Go to www.burnstechnologies.com
b) Select Support > LoanerTrak 3
c) You will be prompted to enter a UserID and Password (provided by Burns Technologies)
d) On the top of the screen, click the link that contains the term “…full Installation file…” Note: at the time of this publication, the version number is 3, build number is 1150.
e) Right click and download this file to your desktop.
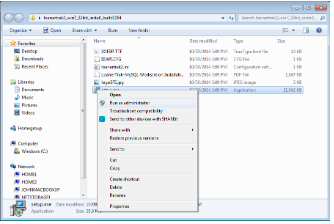
f) Unzip file on your desktop. (Select Extract All Files)
5. Launch Installer
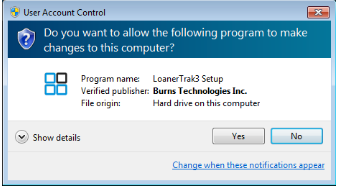
a) In the “Full Installation” file, right click the Setup file and select Run As Administrator to launch the installer.
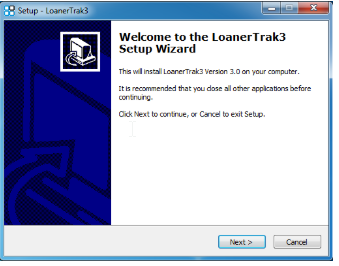
b) Click Yes on the popup message
c) Click Next on first Setup screen
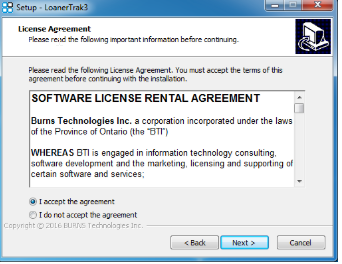
d) Accept the Software license Agreement and press the Next button to continue.
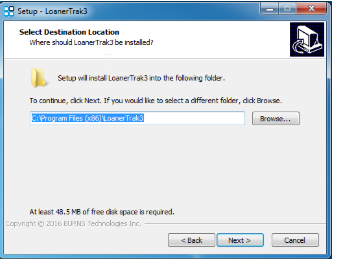
e) Press Next to accept the default folder name.
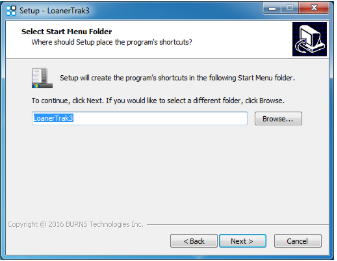
f) Press Next to set up Start Menu Folder
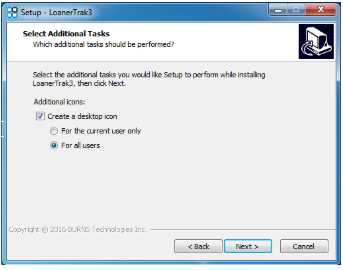
g) Leave default settings. press Next.
h) Press Install to continue.

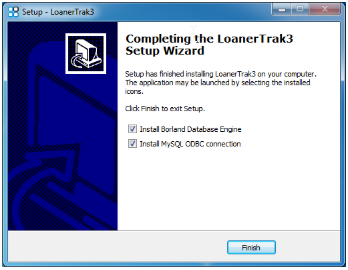
i) After LoanerTrak SQL is installed, the Setup Wizard displays options to install the LoanerTrak Database Engine and MySQL ODBC connector. These are required by the LoanerTrak application to operate. If this is a first installation, leave these items checked and click Finish.
If upgrading, uncheck Install MySQL ODBC connection.
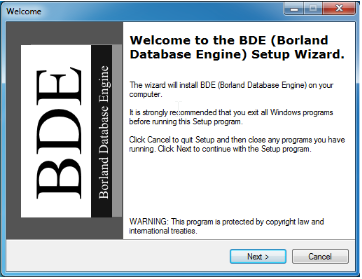
6. Install BDE
a) Select language and press OK
b) Press Next to install the BDE Runtime Engine.
c) Leave the default folder settings and press Next
Note: The Borland Database Engine (BDE) is used to connect LoanerTrak 3 to your ODBC connector. It also houses environmental settings, such as date, time, etc. that are used by the LoanerTrak application. Click Next to continue.

d) Click Next to continue.

e) Click Finish to continue.
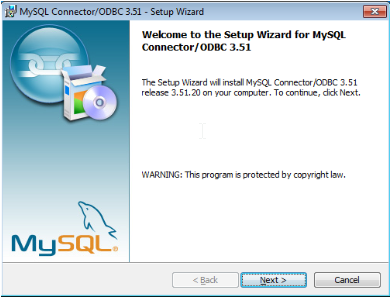
7. (Optional. New installations only) Install MySQL ODBC
a) The last component to be loaded is the MySQL 32-bit ODBC Connector.
Press Next to continue with the Setup Wizard.
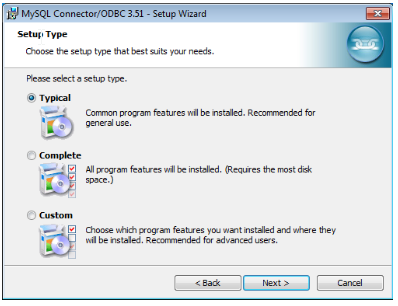
b) Choose the Typical setup type and press Next.
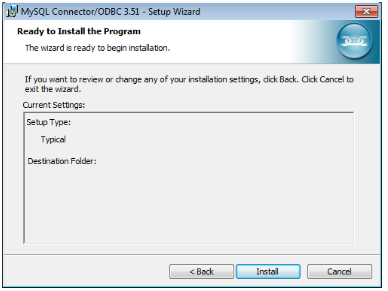
c) Click Install to continue.
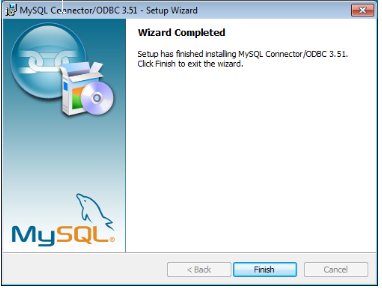
d) When installation is complete, click Finish.
LoanerTrak 3 and supporting components installation complete.
8. Post Installation - Configure ODBC Connection
LoanerTrak SQL utilizes Microsoft’s 32-bit ODBC connector to establish a connection
from the remote MySQL database to your PC. During the LoanerTrak program
installation, the MySQL ODBC database connection component was installed for this
step.
Note: You must have Administrator level security to proceed.
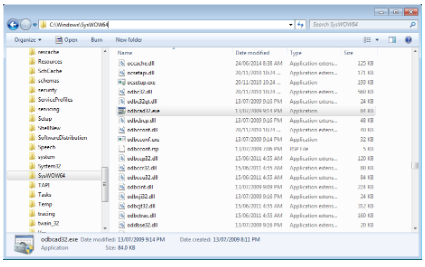
a) Open Windows Explorer and navigate to the 32-bit ODBC connector file called
ODBCAD32.exe located in the C:\Windows\SysWOW64 folder. Double click to
launch.
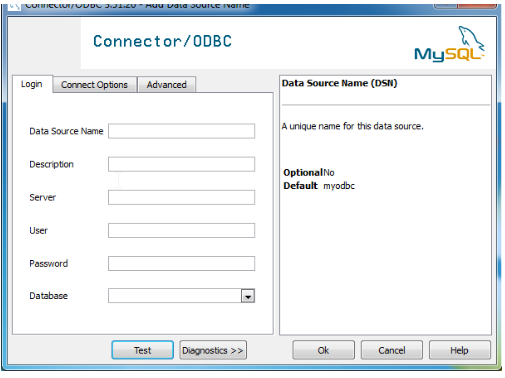
b) Click the System DSN tab and press the Add Button
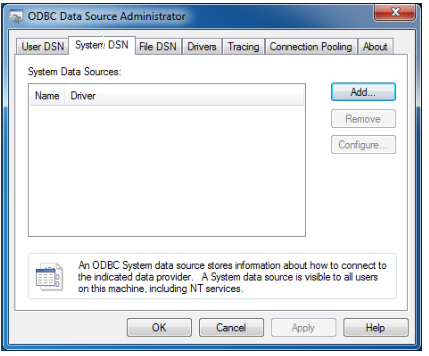
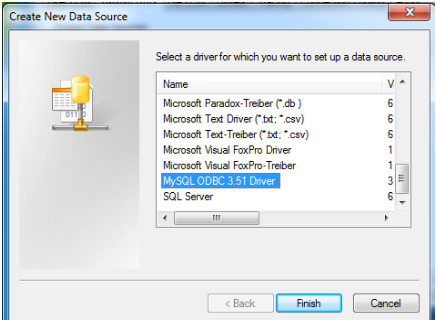
c) Select MySQL ODBC 3.51 Driver and press Finish
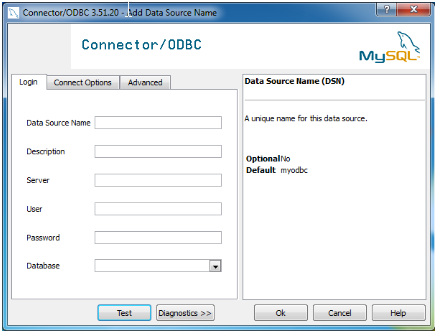
d) Enter values provided by your LoanerTrak Administrator:
Data Source Name = ltdata (example)
Description = LoanerTrak Data
Server = <your webserver's IP address>
User = ltuser (example)
Password = l0@ners (example)
Database = <loanertrak database name>
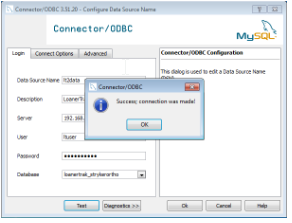
e) Press the Test button. The following message confirms a successful connection.
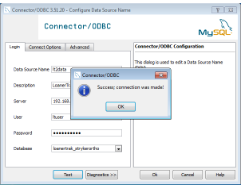
f) Press OK to complete setup and close the ODBC Connector window.
g) (Optional) If this user is to have access to a test database for testing new releases or for
training purposes, enter the test database information from values provided by your LoanerTrak Administrator:
Data Source Name = ltdata_test
Description = LoanerTrak Test Data
Server = <your webserver's IP address>
User = ltuser (example)
Password = l0@ners
Database = <name of your test databae>
h) Press the Test button. The following message confirms a successful connection.
i) Press OK to complete setup and close the ODBC Connector window.
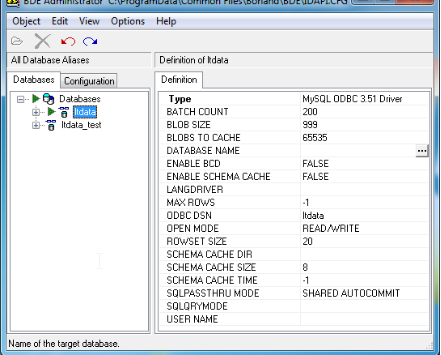
9. Post Installation - Set Up BDE Connection
a) Open Windows Explorer and navigate to folder C:\Program Files (x86)\Common
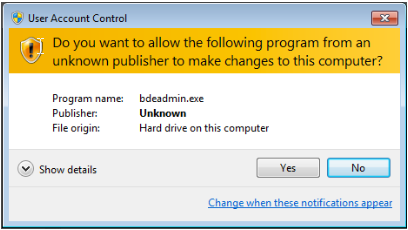
Files\Borland\BDE and launch the program bdeadmin.exe
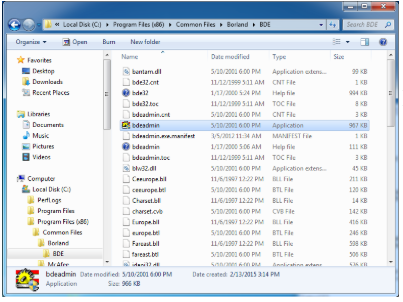
b) Click Yes to the popup message
c) By default, the data source name(s) (DSN) created in the previous step are displayed under Databases. In this example, ltdata was created.

d) Click to highlight this new connection.
e) In the right pane, change BLOB SIZE value to 999 and BLOBS TO CACHE value to 65535.
Click to next line to save the change
f) Repeat step
e) for the test database connection if one was created.
g) Close the BDE Administrator window. Press Yes to save all edits.
Note: You should receive a message prompting you to Save all edits to BDE Administrator. If you don’t see this message on closing, you should re-open the BDE Administrator and repeat steps 6a through g.
10. Copy Custom Program Components (.pro) to Application Folder
Certain functions in LoanerTrak requires custom program modules (.pro files) which have been
customized to each customer’s needs.
a) Go to your company’s custom download folder located on Burns Technologies’s website, typically www.loanertrak.com/downloads_<yourcompanyname>/
b) Open the LoanerTrak3 folder and download all custom files in this folder to the user’s application objects folder, C:\Users\Public\LoanerTrak 3
c) Copy your company’s logo file logo.jpg, saved to the desktop in Step 3b, to the LoanerTrak3 application object folder. C:\Users\Public\LoanerTrak3. The file MUST be named logo.jpg for the program to recognize it.
11. Create Local User’s Settings File
Note: Before launching the LoanerTrak program, save the user settings file
_lt3localsettings.ini provided by your LoanerTrak Administrator to the LoanerTrak application object directory at C:\Users\Public\LoanerTrak3
_lt3localsettings.ini provided by your LoanerTrak Administrator to the LoanerTrak application object directory at C:\Users\Public\LoanerTrak3
Note: This settings file can be created from the previous version’s loanertrak2.ini file, which was saved to the user’s desktop in step 3a. See next page.
Instructions on how to generate a new user _lt3localsettings.ini file are as follows:
a) In LoanerTrak, click Admin in the top menu, then Users.
b) Press the New button and enter the new user’s information, set security access in the Security Access area below, then press Save.
c) After saving new user record, while the user information is still displayed on screen, press the Generate New Settings button. The following message appears:
The new file is generated in your My Documents folder:
d) Copy/email this new settings file (_lt3localsettings.ini) to the new user’s workstation and save it to their C:\Users\Public\LoanerTrak3 folder.
e) Select “Copy and Replace” to overwrite the current file if prompted.
d) Copy/email this new settings file (_lt3localsettings.ini) to the new user’s workstation and save it to their C:\Users\Public\LoanerTrak3 folder.
e) Select “Copy and Replace” to overwrite the current file if prompted.
Note: When the LoanerTrak Administrator adds a new user to the LoanerTrak system with
appropriate security settings, he/she then has the option of generating and emailing/copying
a custom settings file (_lt3localsettings.ini) that is specific to that new user. See Document Adding a user to LoanerTrak.
appropriate security settings, he/she then has the option of generating and emailing/copying
a custom settings file (_lt3localsettings.ini) that is specific to that new user. See Document Adding a user to LoanerTrak.
12. Create Local User’s Settings File from previous LoanerTrak Version
a) Go to the user’s desktop and open the settings file loanertrak2.ini which was saved in step 3a.
b) Ensure the settings in this ini file match the format below:
b) Ensure the settings in this ini file match the format below:
[Database] databasename=ltdata (These Database settings should match your ODBC connection settings) dbuserid=ltuser dbuserpw=l0@ners [TestDatabase]
databasename=ltdata_test
dbuserid=ltuser
dbuserpw=l0@ners
[User]
loginid=<loginid>
lastlogindate=2010/01/01
lastlogintime=01:00:00
[PC]
pcname= <the workstation’s name>
buildno=1000
reportimagefolder=C:\Users\Public\LoanerTrak3\images
setimagefolder=\\10.41.9.121\LTImages (a common folder set up on the server,accessible by all users)
excelinstalled=f (change to t if user’s PC has MS Excel installed)
checkforupdates=f
updatefromweb=t
updatefolder=\\10.41.9.121\sharedfolder\loanertrak3
lastsoftwareupdate=2016-01-01 12:01:00
productiontest=p
[eMail]
smtpadd=<your email server IP> (required for sending auto-emails)
[LT3Directory]
0=C:\Program Files (x86)\LoanerTrak3
Current=0
Ensure that the _lt3localsettings.ini file contains the correct information, otherwise you
will not be able to connect and log in. Settings should appear in the following format.
c) Save this file as _lt3localsettings.ini to the user’s C:\Users\Public\LoanerTrak3 folder.
will not be able to connect and log in. Settings should appear in the following format.
c) Save this file as _lt3localsettings.ini to the user’s C:\Users\Public\LoanerTrak3 folder.
Setup Complete
13. Launch LoanerTrak
a) Launch the LoanerTrak 3 application. As your user ID enter your email address (if it
is not displayed already) and LoanerTrak application password.
a) Launch the LoanerTrak 3 application. As your user ID enter your email address (if it
is not displayed already) and LoanerTrak application password.
Note: If this is an upgrade from LoanerTrak 2, the userid and password will be the same.
Uninstalling LoanerTrak 3 and Associated Programs
1. Click Start > Control Panel > Programs and Features.
2. Highlight LoanerTrak 3, right click and select uninstall.
3. Repeat for BDE (Borland Database Engine) and MySQL Connector/ODBC 3.51
Removal complete.